
Settings
The Settings page holds your personal preferences and security options. Open it from Settings in the account menu at the top right. The page adapts to your account type, so you only see the options that apply to you; an account managed entirely by an external identity provider may have nothing to change here, and the WebClient says so plainly.
Settings is organized into two areas, shown as tabs: General and Authentication. The Authentication tab appears only for account types that have something to manage there.
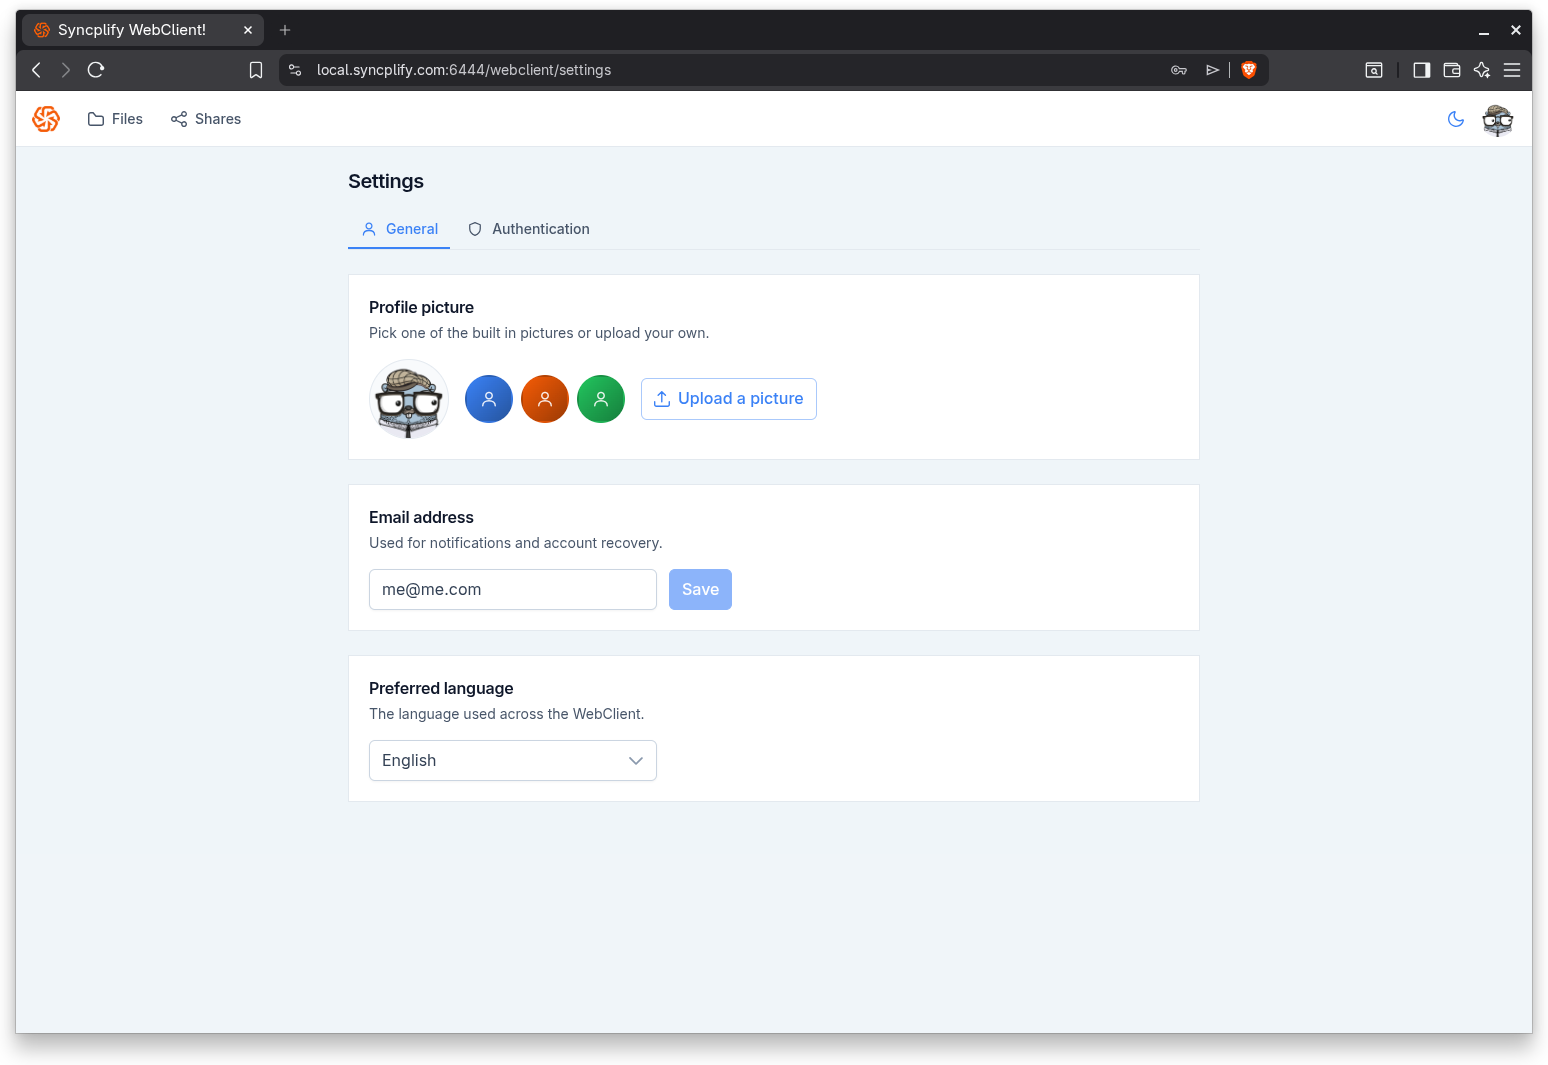
General
The General tab covers your profile and display preferences.
- Profile picture: choose one of the built in pictures or upload your own. An uploaded picture must be an image file smaller than 1 MB.
- Email address: shown for accounts that own their email locally; it is used for notifications and account recovery. Accounts whose email comes from a directory or identity provider do not see this field.
- Preferred language: the language used across the WebClient. The change takes effect immediately and is saved to your account.
Authentication
The Authentication tab covers your password and your security options. What it shows depends on your account type.
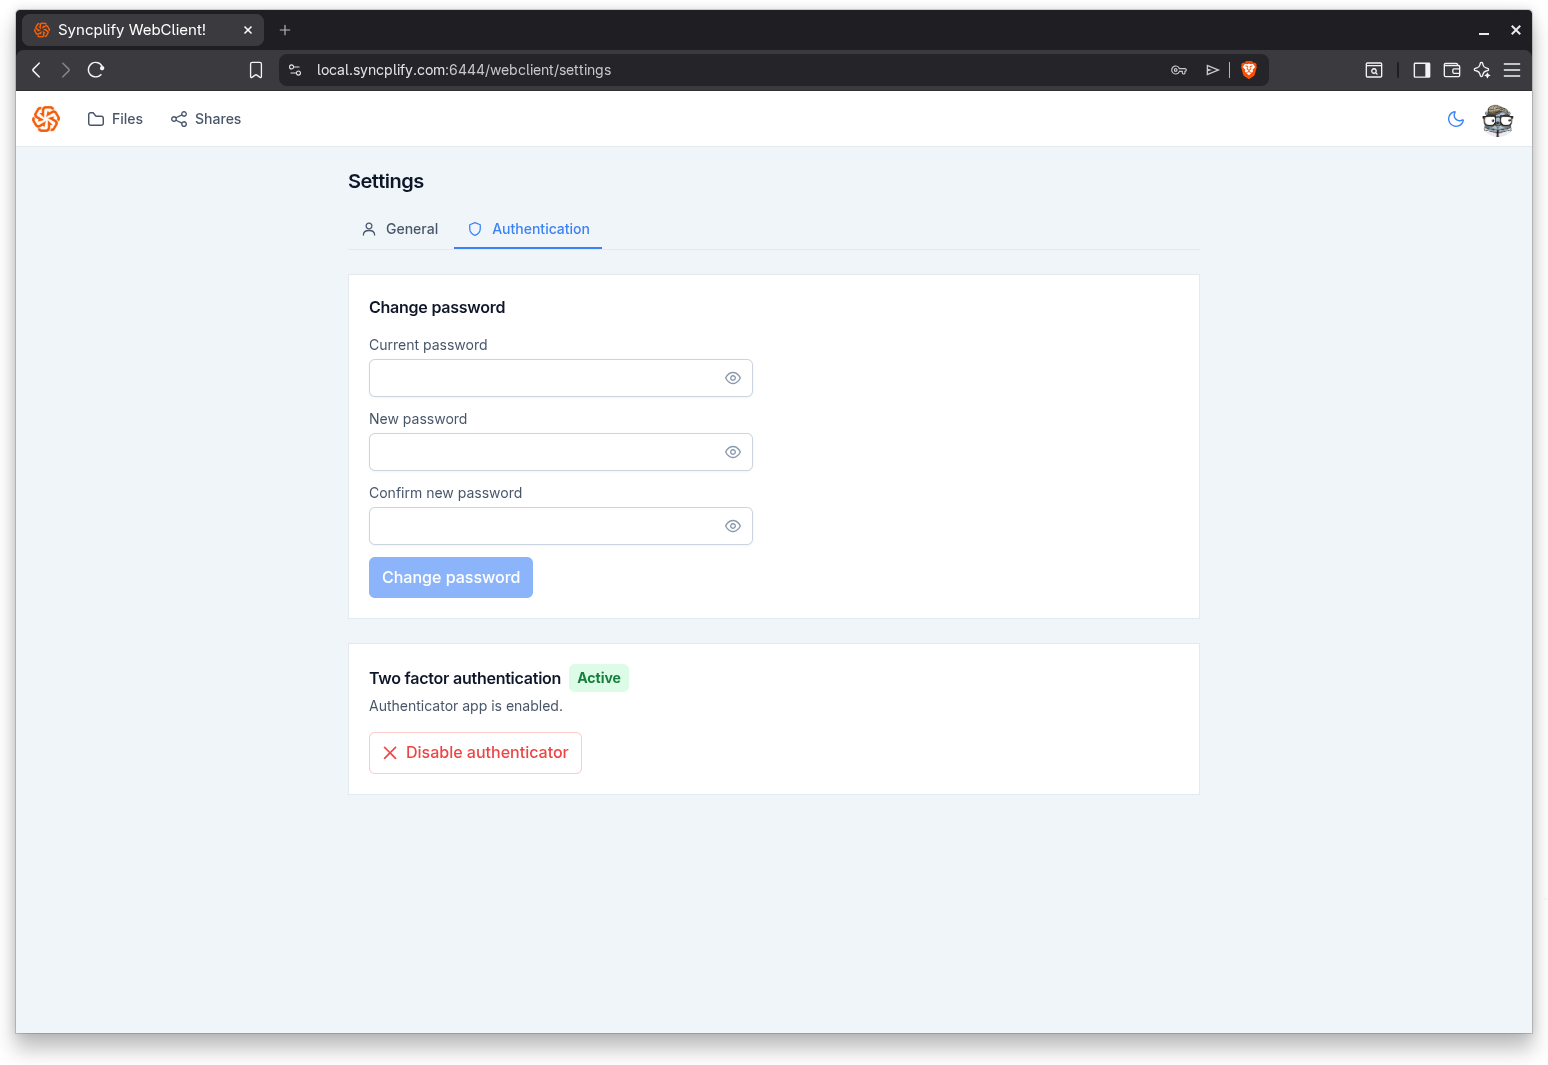
Change password
For accounts with a local password, enter your current password, then your new password twice, and save. The WebClient checks that the two new entries match before allowing the change.
Two factor authentication
For accounts with a local password, you can protect sign in with an authenticator app.
- Select Enable authenticator.
- Scan the QR code with your authenticator app, or enter the shown key manually if you cannot scan it.
- Enter the six digit code from the app. The setup confirms automatically once all six digits are entered.
Once enabled, the tab shows that the authenticator is on. To turn it off, select Disable authenticator and confirm.
This is the same authenticator that is used by the Trust this device option on the sign in screen; see Signing in for how trusting a device affects future sign ins.
Passkeys
Passkeys let you sign into the WebClient without typing a password, using your device screen lock (PIN, fingerprint, or face) or a hardware security key. They are available to accounts with a local password and to accounts that authenticate through single sign on; see the Passkeys (WebAuthn) guide for the full picture.
To enroll one:
- Optionally enter a name that helps you recognize the device (for example "My laptop").
- Select Add passkey and follow your browser's prompts to confirm with your screen lock or security key.
The list shows each passkey with its creation date, last used time, and use count. You can rename a passkey at any time, and delete one you no longer use; a deleted passkey stops working immediately. Each account can hold up to 10 passkeys.
A passkey created here works only on this exact host name. Signing in with a passkey never asks for a one time code, because unlocking the passkey already counts as a second factor. This section is hidden on browsers that do not support passkeys.
App passwords
App passwords are credentials for connecting file transfer clients such as SFTP and FTP to your account, since those protocols cannot run an interactive single sign on flow. This section is available for accounts that authenticate through single sign on, and its availability also depends on your server license.
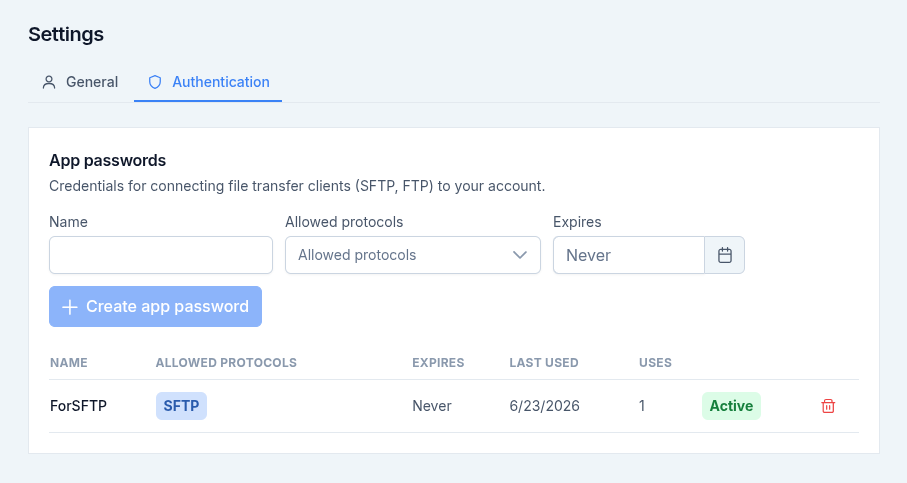
To create one:
- Enter a name that helps you recognize where it is used.
- Choose the allowed protocols (SFTP, SCP, FTP, FTPS, FTPES). At least one is required.
- Optionally set an expiration date; leave it empty for an app password that never expires.
- Select Create app password.
The secret is shown only once, right after creation, so copy it and store it somewhere safe before closing the dialog. The list shows each app password with its protocols, expiration, last used time, use count, and status. Use the revoke action to disable one you no longer need; clients using it will stop working.